
Choosing the right dental display is no longer a peripheral equipment decision. In modern dental clinics, professional displays are utilised throughout the clinical workflow—from chairside imaging and X-ray review to CBCT analysis, patient consultation, and treatment planning.
A dental display is not merely a screen for showing images. It directly affects how clearly clinicians review diagnostic information, how efficiently they navigate treatment, and how well patients understand their diagnosis. For clinics using digital imaging, intraoral cameras, or treatment planning software, the display is a critical component of the clinical workflow.
That is why selecting the right solution should not be based solely on screen size or resolution. Clinics must evaluate image consistency, brightness, cleanability, mounting capabilities, electrical safety, and integration with existing equipment.
This guide explains where professional dental displays are deployed, how they differ from standard consumer screens, and what technical factors matter most when selecting hardware for daily clinical operations.
A professional dental display is a specialised screen engineered specifically for dental environments. It supports imaging, consultation, treatment planning, and patient communication. (Note: This refers strictly to visual display hardware and should not be confused with software or patient vitals tracking systems).
Unlike general-purpose consumer monitors, professional displays are designed explicitly for clinical use. They are built to deliver stable image calibration, withstand rigorous cleaning protocols, and safely integrate with dental equipment. Because a single display model is often deployed across multiple zones in a clinic, long-term reliability and visual consistency are paramount.
Dental displays are rarely confined to a single location. They are integrated into treatment rooms, consultation areas, imaging stations, and mobile workstations. Understanding these distinct use cases ensures you select a display that supports the actual workflow.
 1")
In treatment areas, displays are frequently positioned on rear delivery cabinets or nearby operatory workstations. This allows clinicians to view X-rays or 3D images in real time during procedures without breaking their workflow.
Because operatories are exceptionally bright environments, a chairside dental display must remain clear under intense overhead and dental operating lights. If the screen is dim or highly reflective, diagnostic details will appear washed out. Furthermore, since these screens are in close proximity to aerosols and procedures, they must feature smooth, non-porous surfaces that withstand frequent chemical disinfection.
In multi-room clinics, displays are often mounted on mobile delivery cabinets or shared workstations. For this workflow, structural durability is critical. The display must remain physically stable despite frequent repositioning and deliver consistent visual performance regardless of which room it is moved to.
 2")
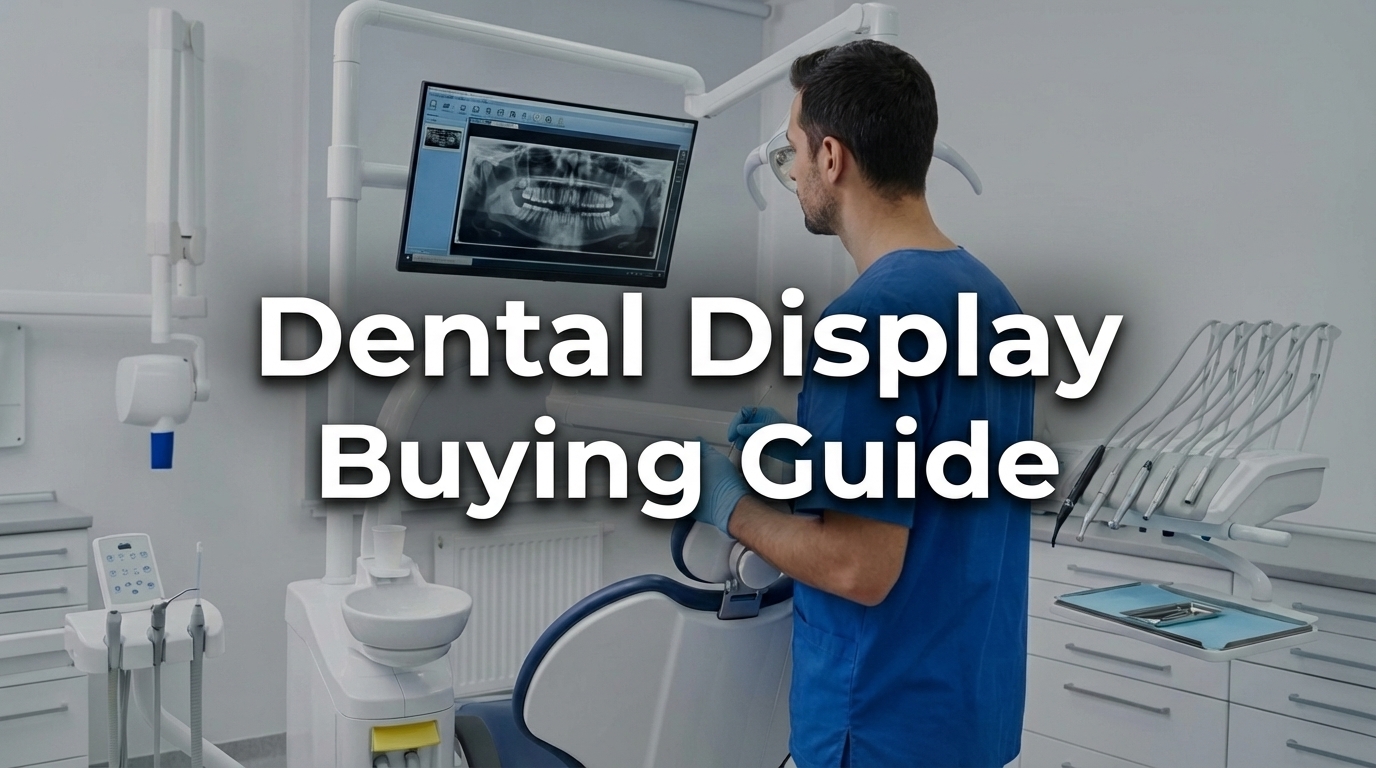
In consultation rooms, displays are utilised to explain diagnoses and treatment plans. Here, image clarity is an invaluable communication tool. A high-fidelity dental display allows patients to clearly see their intraoral images or 3D scans, which improves their understanding of the condition and increases confidence in the proposed treatment.
 3")
Displays positioned near CBCT systems or imaging workstations demand the highest level of visual precision. Grayscale consistency is vital when reviewing X-rays, as subtle tonal variations carry direct clinical meaning. A dental display featuring DICOM Part 14 calibration ensures that image interpretation remains reliable and standardised.
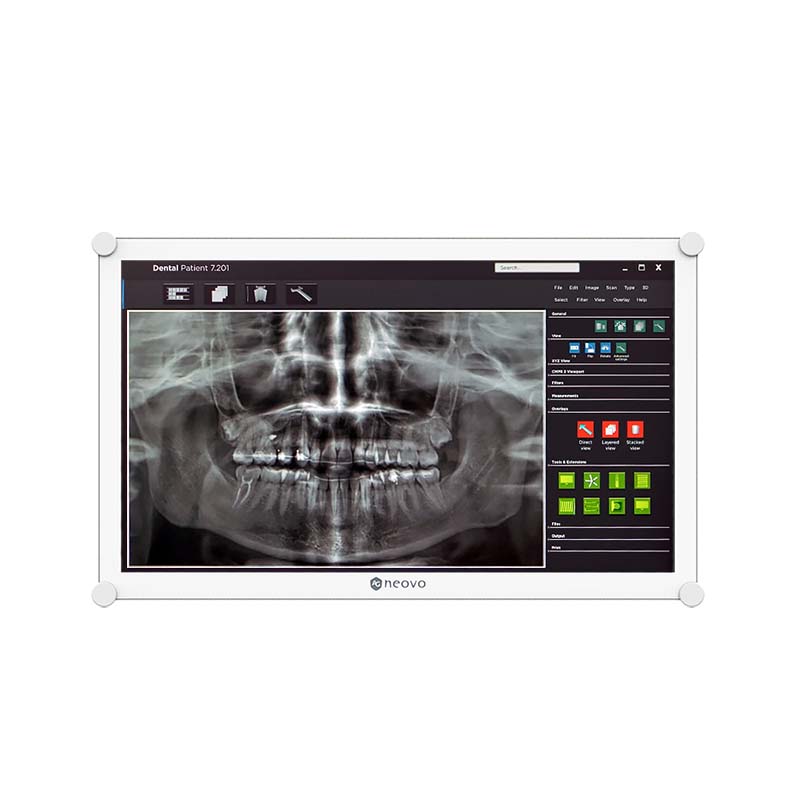
Integrated dental chair displays are designed as part of a dental chair system or chair-mounted equipment setup. Unlike chairside displays placed on rear delivery cabinets or nearby workstations, integrated displays must meet stricter requirements for mechanical compatibility, ergonomics, cable management, and long-term mounting stability.
For dental chair integration, the display needs to be lightweight, adjustable, and reliable for daily use. It should support stable positioning, smooth movement, and safe operation around dental equipment, patients, and clinicians.
A display that is too heavy may strain the dental chair arm or reduce positioning flexibility. Poor cable routing or incompatible mounting can also create workflow interruptions or a cluttered treatment area.
A properly integrated dental chair display helps streamline the operatory, improve ergonomic positioning, and support both clinician viewing and patient communication.
 4")
At first glance, standard consumer monitors may seem sufficient, as they offer high resolutions and lower upfront pricing. However, dental environments demand precise X-ray review, rigorous infection control, and secure mounting. Consumer screens are fundamentally not engineered for these conditions.
Professional dental displays solve five common problems.
| Feature | Professional Display for Dentistry | Consumer Monitor |
|---|---|---|
| Image Calibration | Supports DICOM calibration and stable grayscale performance | Inconsistent tonal output depending on settings and panel variation |
| Brightness | Optimized for clinical lighting, typically around 300 nits or higher | Limited visibility in bright operatories; prone to glare |
| Hygiene | Supports clinical disinfection with sealed or easy-to-clean surfaces | May degrade with repeated chemical cleaning |
| Durability | Built for continuous clinical use and repeated handling | Designed mainly for general office or home use |
| Integration | Designed for dental chair arms, mobile carts, and clinical mounting systems | Limited mechanical compatibility with dental equipment |
| Safety & Compliance | May support IEC 60601-1 and IEC 60601-1-2 medical safety standards | No clinical electrical safety compliance |
Selecting the right hardware requires translating technical specifications into practical clinical value.
In dental imaging, clarity equals consistency. A professional display supporting DICOM calibration ensures grayscale predictability. If a clinic uses multiple displays, consistent output (e.g., Delta E < 2) guarantees that an X-ray viewed at the imaging station looks identical when shared on a chairside screen.
Key considerations:
 5")
Overhead operating lights drastically reduce perceived screen clarity. A brightness level of 300 nits or higher cuts through ambient lighting. When paired with anti-reflection treatments, the display preserves image contrast without causing eye strain for the clinician.
Key considerations:
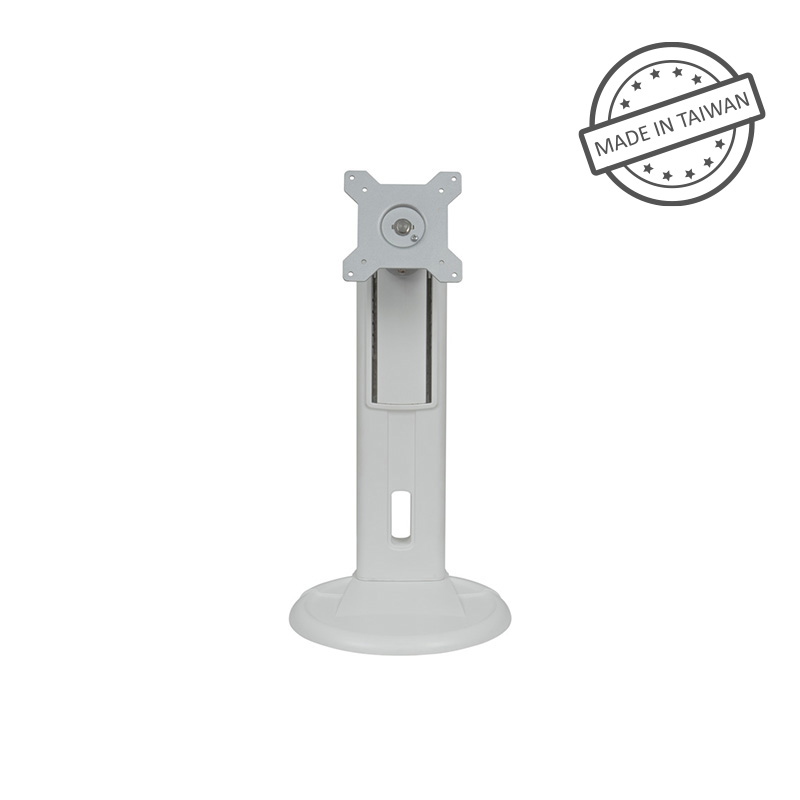
Strict infection control dictates that displays will be repeatedly exposed to alcohol and clinical disinfectants. Professional displays utilise smooth, non-porous surfaces (such as NeoV™ Optical Glass) and sealed front designs to prevent contaminant accumulation and chemical degradation.
Key considerations:
Displays in busy clinics are constantly touched and adjusted. An impact-resistant surface, such as IK08-rated optical glass, protects the screen from accidental strikes by dental instruments and daily wear, ensuring long-term reliability.
Key considerations:
When installing a display on chair mounts, weight is a critical factor. An oversized or heavy screen strains mounting arms and compromises stability. A balanced 22-inch display weighing under 5 kg provides an optimal viewing area while protecting the chair’s mechanical structure.
Key considerations:
 6")
Displays operating near patients and imaging devices must not introduce electrical risks or electromagnetic interference. Compliance with IEC 60601-1 (electrical safety) and IEC 60601-1-2 (EMC) is essential. Furthermore, utilising certified clinical power adapters and proper equipotential bonding ensures a secure operational environment.
Key considerations:
 7")
Optical bonding eliminates the air gap between the display panel and the protective glass. This significantly reduces internal reflections and enhances contrast—crucial for bright treatment rooms. It also reinforces the structural integrity of the screen, making it more impact-resistant and easier to sanitize.
Key considerations:
Beyond technical specifications, ease of installation and daily usability also play an important role. A dental display that is difficult to install, adjust, clean, or operate can create unnecessary friction in a busy clinic.
Standard VESA mounting support allows the display to integrate more easily with dental chair arms, wall mounts, mobile carts, and workstation systems. Flexible installation options also help clinics adapt the display to different treatment rooms and workflows.
Daily usability matters as well. Clinicians should be able to adjust brightness, input source, or image settings quickly when needed. Controls should be accessible, intuitive, and suitable for clinical environments.
A professional dental display should support the workflow rather than interrupt it. Good installation design and user-friendly operation can improve both efficiency and long-term satisfaction.
Key considerations:
Many selection errors occur when purchasing based solely on screen resolution. A high-resolution consumer monitor will still fail in a clinic if it lacks the necessary brightness, grayscale consistency, or safe mounting support.
Another frequent mistake is overlooking the weight limits of chair arms. A standard monitor that is too heavy will create immediate mechanical stress. Finally, clinics often underestimate hygiene requirements; if the screen’s plastic bezel cracks from daily disinfection, the hardware must be replaced prematurely.
Begin by mapping your workflow:
For chairside treatment areas, prioritize brightness, cleanability, anti-reflection performance, and easy viewing during procedures.
For CBCT and X-ray review, prioritize image consistency, DICOM calibration, grayscale performance, and stable brightness.
For consultation rooms, prioritize clear image presentation, viewing angles, and patient-friendly visual communication.
For integrated dental chair systems, prioritize weight, VESA compatibility, cable management, safety, and long-term mounting stability.
By evaluating lighting conditions, infection control protocols, and mounting requirements, dental clinics can invest in a professional dental display that enhances diagnostic confidence, patient communication, and long-term operational efficiency.
A practical selection process should consider the following questions:
By aligning the display with real clinical workflows, dental clinics can choose a solution that supports both image quality and daily usability.
Choosing the right dental display helps clinics improve image review, workflow efficiency, patient communication, and equipment integration.
A professional dental display offers advantages that consumer monitors usually cannot provide: more consistent image performance, better visibility under clinical lighting, easier cleaning, stronger durability, safer integration, and better support for daily dental workflows.
For clinics using X-rays, CBCT, intraoral imaging, chairside consultation, or integrated dental chair systems, the display should be treated as part of the clinical environment—not just a screen.
By focusing on image consistency, brightness, hygiene, durability, mounting, safety, and usability, dental clinics can choose a display that supports both clinical confidence and smoother daily operations.
Explore our dental display solutions for chairside imaging, dental chair integration, X-ray review, and CBCT workflows.


 NeoV™ Optical Glass Screen
 Anti-Burn-in™ Technology
