
Choosing a digital signage display may seem straightforward. You select a screen, install it, connect a media player, and start showing content. In reality, the display you choose determines how stable, visible, and reliable your entire signage system will be over time.
Many signage projects run into problems months after installation. Screens may overheat, brightness may be insufficient, playback may become unstable, or maintenance may require more time than expected. These issues rarely come from incorrect setup. In most cases, the hardware simply was not designed for the environment where it is being used.
Professional digital signage displays are built for continuous operation, high visibility, and predictable performance. Understanding how to choose the right display helps prevent downtime, reduce maintenance cost, and ensure long-term system stability.
This guide explains the key factors to consider when selecting a digital signage display, including operating hours, brightness, installation conditions, system architecture, and different display categories.
A digital signage display is not just a screen. It is part of a system that may include media players, software, network control, and remote management. If the display cannot handle the environment where it is installed, the entire system becomes unreliable.
Professional installations often require:
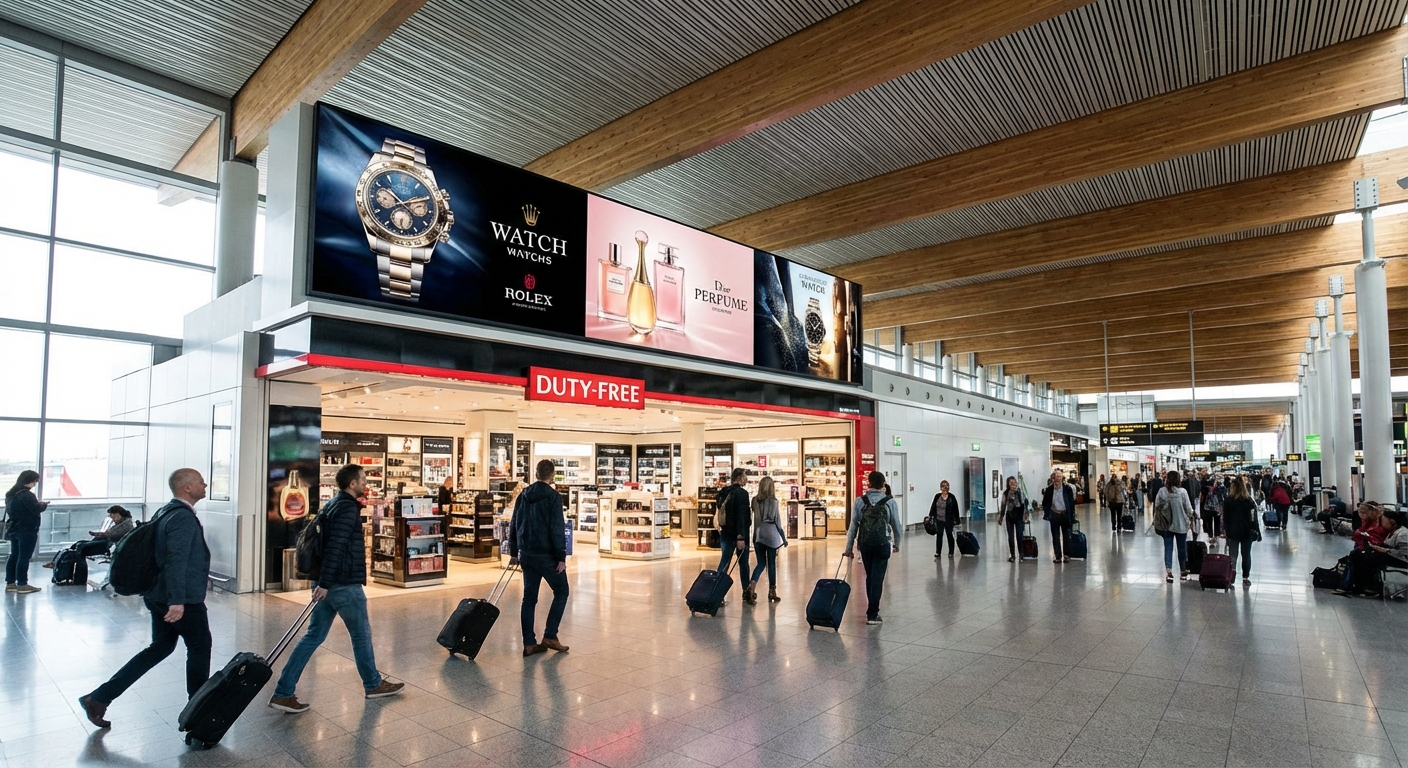
When comparing a commercial display vs consumer TV, consumer models may work at first, but they are simply not built for continuous operation. Professional displays use stronger components, robust metal chassis, and panels optimized for long duty cycles.
Selecting the correct display at the beginning makes the entire project easier to maintain and more predictable in the long term.
One of the most important questions when choosing a digital signage display is how long the screen will run each day. Displays are designed with different duty ratings, and using the wrong type can shorten the lifespan of the hardware.
16/7 displays are designed for daily operation with regular shutdown periods. They are suitable when the screen runs during working hours but is turned off overnight.
Typical advantages include:
For many standard commercial installations, a 16/7 display offers the perfect balance between professional durability and balanced energy consumption.
24/7 displays are designed for continuous operation without rest. They include reinforced power supplies, improved cooling systems, and panels optimized for long usage cycles.
Common benefits include:
24/7 displays are strictly recommended when screens must stay on at all times or when maintenance access is severely limited. Choosing the correct duty rating is one of the most vital steps in display selection.
 1")
Brightness is one of the most critical factors in digital signage.
Brightness is one of the most critical factors in digital signage. A display that looks bright in a showroom may become difficult to read in a real installation. Brightness is measured in nits, and the required level depends heavily on the lighting conditions:
Selecting the correct brightness ensures both clear visibility and a longer display life.
 2")
Different installations require different display formats.
The physical environment dictates both the form factor and the required screen size. The optimal size depends entirely on the viewing distance. While a 43-inch screen works for close-range retail shelves, massive architectural spaces require large format displays to ensure readability from afar.
Important considerations include:
Professional digital signage displays usually support flexible mounting and orientation switching. Choosing the correct form factor makes installation easier and significantly reduces maintenance effort later.
 3")
Modern digital signage systems may utilize integrated smart panels or rely on external media players.
An all-in-one digital signage solution integrates the media player, Wi-Fi connectivity, and an Android operating system directly inside the screen.
Advantages include:
Many professional all-in-one displays also support content management systems for remote scheduling. Because the system is optimized by the manufacturer, stability is usually much higher.
 4")
Some installations use separate media players connected to the display via HDMI or DisplayPort.
Advantages include:
Choosing between these two approaches depends heavily on how the signage network will be managed and scaled.
Different display categories are engineered for highly specific operating conditions. Understanding these variations improves system stability:
 5")
Another critical decision is how the displays’ content will be updated and controlled.
Content runs locally using a USB drive or internal storage.
Multiple displays are connected to and controlled from a central Cloud or On-Premise system.
 6")
Many projects focus solely on the initial installation cost, but the long-term operational reality matters far more.
When planning your budget, carefully consider:
Displays engineered for professional use directly help reduce service visits, minimize downtime, and prevent unexpected replacement cycles. Planning for long-term stability ensures the signage system remains a reliable asset for years.
Selecting a digital signage display is not simply about picking a screen size or choosing 4K resolution. The correct choice depends entirely on how the display will actually be used in the real world.
The most successful selections come from understanding:
By matching the display hardware to the real operating conditions, you can build a digital signage system that remains stable, visible, and easy to maintain over its entire lifecycle. Choosing the right display at the very beginning makes every subsequent part of your project easier.
Choosing the right hardware shouldn’t be a guessing game. Whether your project requires the non-stop reliability of 24/7 Professional Displays, the extreme visibility of High-Brightness Outdoor screens, or the seamless integration of All-in-One Solutions, AG Neovo has a display engineered for your specific environment.

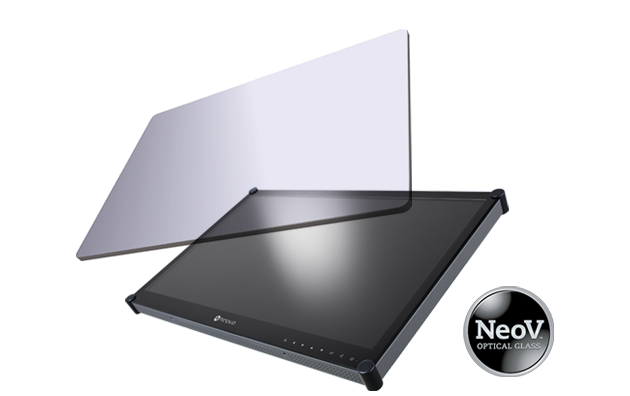 NeoV™ Optical Glass Screen
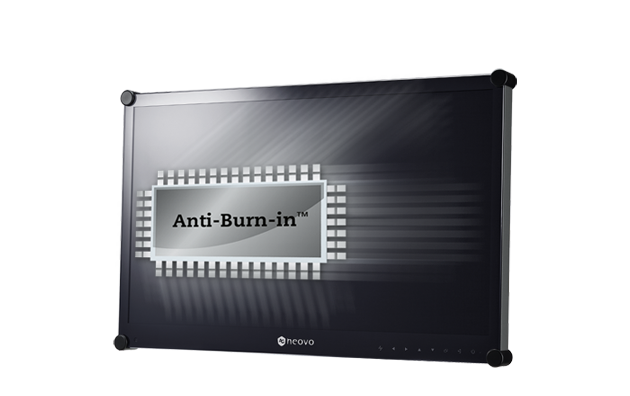 Anti-Burn-in™ Technology
