

Video walls have gained immense popularity in commercial and professional settings, serving as captivating displays for advertising, disseminating information, and providing entertainment.
In today’s market, LCD panels dominate the majority of video walls due to their mature technology and relatively reasonable price-performance ratio. Consequently, choosing the right LCD displays becomes a crucial decision when building an LCD video wall. The abundance of options can be overwhelming, especially when you want to ensure seamless connections between each display, effortless management, and post-installation maintenance.
This blog aims to guide you through the key factors to consider when selecting an LCD display for your video wall. From bezel size to resolution, brightness, and connectivity, we will cover all essential aspects to help you make an informed decision. By the end of this article, you will be well-equipped to choose an LCD display that maximizes the impact and effectiveness of your video wall.
The size of the bezel on an LCD display significantly influences the overall visual experience of a video wall. The bezel refers to the frame surrounding the screen, and when multiple displays are tiled to create video walls, the width of the gaps between screens can impact the viewing experience.

To enhance the visual appeal and eliminate distractions caused by thick bezels, manufacturers are continuously reducing the bezel size on each display. This reduction ensures a seamless integration when tiling two displays together, minimizing the bezel-to-bezel gap. The result is a visually stunning video wall that captivates the attention of viewers, allowing content to flow smoothly across the entire display, providing an uninterrupted and immersive viewing experience.

“The narrower the width of the bezel-to-bezel gap, the more impactful experience you can create.” Currently, mainstream video walls have a bezel-to-bezel width of 3.5mm, striking a balance between price and performance. However, upon closer inspection, you’ll notice that the top and left bezels are thicker, measuring 2.5mm, while the right and bottom bezels are slimmer at 1mm. This design allows for a combined bezel-to-bezel width of 3.5mm when two displays are tiled together. The reason behind this asymmetry lies in the adoption of edge-lit LED backlight technology in LCD displays, which necessitates space for LED arrays.
In the market, you can also find displays with bezel-to-bezel widths of less than 1mm or even completely bezel-less displays. However, these options come with a relatively higher price tag.
The size and aspect ratio of your video wall displays are critical factors that depend on several considerations, including available space, viewing distance, and most importantly, how you plan to present content.
Ensuring the appropriate size is vital to achieve the desired impact and ensure optimal visibility. Begin by evaluating the dimensions of the installation area and calculating the viewing distance to determine the ideal display size.

Currently, two main sizes and aspect ratios dominate the market for video wall displays: 46” and 55” with a 16:9 aspect ratio. If you intend to create a video wall of less than 100” in a 2 x 2 configuration, the 46” displays would be the suitable choice.
Regarding the aspect ratio of the video wall, it should be determined based on the content format and how you plan to present the content. The aspect ratio will influence the overall visual experience and should align with the content’s intended presentation style.
The resolution of your video wall has a significant impact on the visual quality and clarity of the content displayed. Higher resolutions, such as Full HD (1920×1080) and 4K Ultra HD (3840×2160), are particularly crucial when showcasing fine details or text, as they provide sharper and more detailed images.

By opting for higher resolutions, you get more pixels per inch, resulting in a crisper and more immersive visual experience. While most ultra-narrow video wall displays come with a resolution of 1920×1080, you can still transmit 4K content to a 2 x 2 video wall using HDMI 2.0 or DisplayPort 1.2.
If you wish to present content in 8K resolution, you’ll need to utilize external 8K controllers or graphic cards to handle the processing power required for such high-resolution content. It’s essential to assess your content needs and budget carefully to find the optimal resolution for your video wall setup.
The brightness level and color accuracy of your video wall displays play a pivotal role in ensuring that your content stands out and captivates viewers’ attention. It is imperative to consider the lighting conditions in the installation area and select displays with ample brightness to maintain a powerful visual impact.
Brightness is typically measured in nits, and higher values guarantee clearer visibility, especially in well-lit environments such as shopping malls, indoor public areas, and transportation hubs. Look for displays with brightness levels ranging from 500 to 700 nits, although specific requirements may vary based on ambient lighting conditions.

Furthermore, when assembling multiple panels to create the video wall, achieving color accuracy and uniformity becomes crucial for a seamless visual experience across the entire display. Each panel may exhibit slight color differences due to mass production tolerance rates. If there is no pre-calibration process at the factory before shipping to the market, the video wall may appear inconsistent in uniformity.
Over time, the color performance may gradually degrade due to liquid crystal movement lag. Therefore, it is essential to have the displays calibrated to ensure consistent and vibrant visuals, even after extended usage. Proper calibration not only maintains the overall quality of the video wall but also guarantees a more pleasing and immersive viewing experience for your audience.
Seamless integration and user-friendliness are key aspects to consider when setting up a video wall, and the connectivity options and control features of the displays play a vital role in achieving this. It is essential to carefully assess the available input and output ports on the displays, such as HDMI, DisplayPort, and VGA, as they allow you to connect various video sources.
In addition to these standard connections, incorporating “Must-have” features like RS232 protocol, LAN function, and Infrared Remote (IR) is crucial for efficient maintenance and control functions.
To simplify cabling and synchronization of multiple screens, it’s beneficial to opt for displays with daisy-chaining functionality, which can be achieved through DVI or DisplayPort. This capability enables you to connect displays in a series, reducing wiring complexity and streamlining video wall management.

The post-installation management of multiple panels can be time-consuming. To address this, look for displays that offer RS232 command and control protocol. Many displays provide RJ45 input and output ports for RS232 command connection. RJ45 cables are preferred as they offer stable data transmission over longer distances compared to RS232 cables and are more readily available.

Furthermore, ensure that the display provides an additional RJ45 port for LAN connectivity. This allows the display to connect with control systems via an intranet or Wi-Fi router, providing a remote management method for efficient display management.
Incorporating IR looping is another crucial feature to consider. This functionality prevents a situation where setting up one display with a remote controller inadvertently affects other displays. By centralizing all display management, the looping feature allows one remote controller to effectively control all displays, streamlining the overall user experience.
By ensuring these connectivity and control features are present in your video wall displays, you can optimize the functionality and usability of your setup, making it easier to manage and control the video wall effectively.
Video walls are often intended for 24/7 continuous operation, so it is essential to choose professional-grade displays that are durable and reliable.
Consider the build quality of the displays, as well as their resistance to overheating and other potential issues. Look for displays with robust construction and built-in cooling systems to ensure optimal performance and longevity.

Additionally, check the manufacturer’s specifications for the display’s expected lifespan and warranty coverage. Reputable brands often provide longer warranties and better technical support, ensuring that you have reliable assistance if any issues arise. Investing in reliable and durable displays helps minimize downtime and maintenance costs, ensuring the smooth operation of your video wall.
When selecting LCD displays for your video wall, it is important to establish a budget and consider the associated costs. While it is tempting to opt for the most advanced and feature-rich displays, it is crucial to align your choices with your budget constraints.
Consider not only the initial purchase cost but also the long-term costs of maintenance, energy consumption, and any additional accessories or software required.
Finding a balance between cost and quality is essential to ensure a successful video wall installation that meets your goals without overspending. Research different brands, models, and price ranges to identify the displays that offer the best value for your specific requirements.

Choosing the right LCD displays for your video wall is a critical step in creating an impactful and visually stunning display. By considering factors such as bezel size, size and aspect ratio, display resolution, brightness, connectivity, durability, and budget, you can make an informed decision that aligns with your content goals and installation environment.
Take the time to research and compare different models and consult with professionals or experts in the field if needed. A well-designed and properly chosen video wall display setup will captivate your audience and effectively convey your message or brand. With the knowledge gained from this comprehensive guide, you are now equipped to select LCD displays that will maximize the potential of your video wall installation.


Elevate your video wall expertise and create unforgettable experiences. Stay tuned for expert insights. Read on to discover the full spectrum of video wall possibilities! Please visit: lcd-video-wall-displays
For more information: agneovo.com.
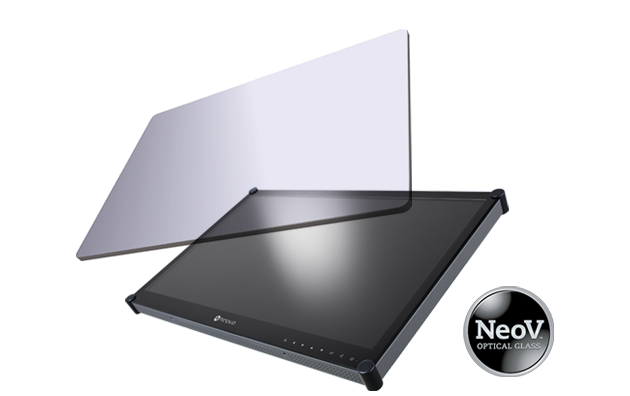 NeoV™ Optisch Glazen Scherm
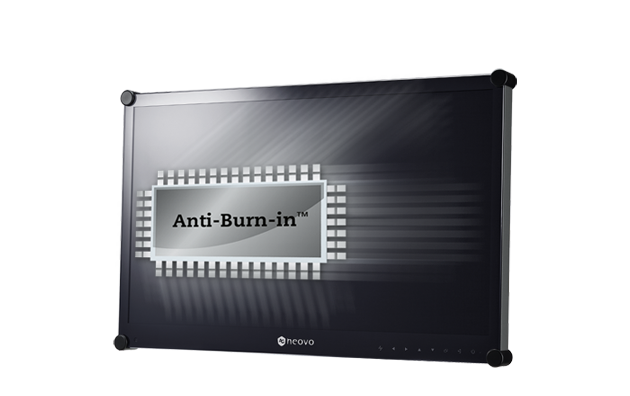 Anti-Burn-in™ Technologie
