
If you run or manage a small quick‑service restaurant (QSR), you’ll be juggling fast‑paced operations, changing customer tastes and frequent menu or promotional updates. Traditional printed or static menu displays simply can’t keep up – they become outdated, inconsistent across branches and incur recurring re‑printing costs.
A digital menu board offers a compelling solution: dynamic content, remote updates and consistent branding. This guide is your beginner’s roadmap to digital menu boards for restaurants – what they are, how they work, how much they cost and how you can get started, especially if you have limited resources.

A digital menu board is a modern signage solution that replaces traditional printed or static displays in quick-service restaurants (QSRs). It typically comprises three essential components: a commercial-grade screen, a content management system (CMS), and digital media assets such as images, videos, and menu listings.
At its core, a digital menu board enables restaurant operators to manage and present menus, prices, promotions, and brand visuals on digital displays. These systems go far beyond basic slideshows — they support scheduled content updates, live adjustments, and even integration with point-of-sale (POS) or inventory systems for seamless operation.
Common Misconceptions
“It’s just a fancy slideshow” – In truth, digital menu boards support scheduled content, live updates, and real-time integration with other systems.
“You need IT staff to manage it” – Most CMS platforms are built for ease of use, featuring intuitive interfaces that don’t require technical expertise.
“It’s too costly for small businesses” – Many affordable, scalable solutions are available today, making digital menu boards a smart investment even for single-location QSRs.
Effectively running a digital menu board takes more than simply switching on a screen. It requires the right combination of reliable hardware, a user-friendly content management system (CMS), and well-planned, engaging content. Understanding how each part works—and how to select the most suitable setup for your business—is essential for long-term success.

→ Create visual content – Design menus, promotions, seasonal specials and upsell offers.
→ Upload to the CMS – Add content to your central management platform for editing and control.
→ Schedule content – Set displays to change based on time of day, day of the week, or specific events.
→ Deploy to screens – Distribute content remotely to one or several sites.
→ Monitor in real time – Check that screens are displaying correctly and consistently.
→ Make adjustments – Refine based on customer feedback, sales performance or stock levels.
Some CMS platforms also integrate with EPOS or stock systems. For instance, if an item sells out, the system can automatically remove or substitute it on screen—no manual updates required.
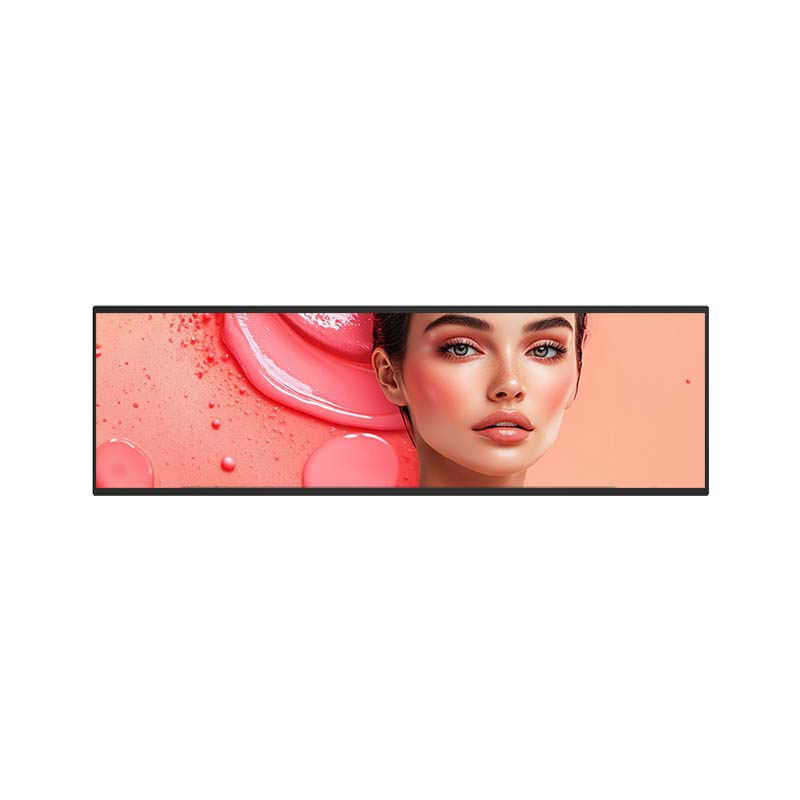
Every digital menu board setup begins with selecting the right type of display. The screen you choose—and how it’s powered—will affect everything from ease of installation to day-to-day reliability.
There are two common approaches:

Many fast food operators begin with a standard commercial display paired with an external media player that runs content via a CMS. This setup offers flexibility—you can choose from a wide range of CMS providers, upgrade hardware separately, and scale the system as your business grows. However, there are trade-offs: more equipment, more cabling, and potentially higher maintenance demands.

All-in-one digital signage displays have the media player built directly into the screen itself. This reduces clutter, shortens installation time, and simplifies day-to-day use—particularly for smaller restaurants with limited technical support. The downside is reduced flexibility, as individual components can’t be swapped or upgraded separately.
Which Should You Choose?
For fast food operators with existing CMS agreements or more complex multi-site operations, a display-plus-player setup may offer greater flexibility and control. However, for those starting from scratch or aiming to minimise installation hassle, all-in-one solutions provide a streamlined and efficient route to digital transformation.
Once you’ve decided on your setup, the next step is to select screens that suit your restaurant’s layout, lighting conditions, and customer flow.

It’s important to choose screens based on their installation environment. For indoor use, a brightness level of 350–500 nits provides sufficient visibility without being overly intense. For outdoor or drive-through settings, displays should be weatherproof, equipped with anti-glare technology, and offer a brightness of at least 1000 nits to ensure readability even in direct sunlight.

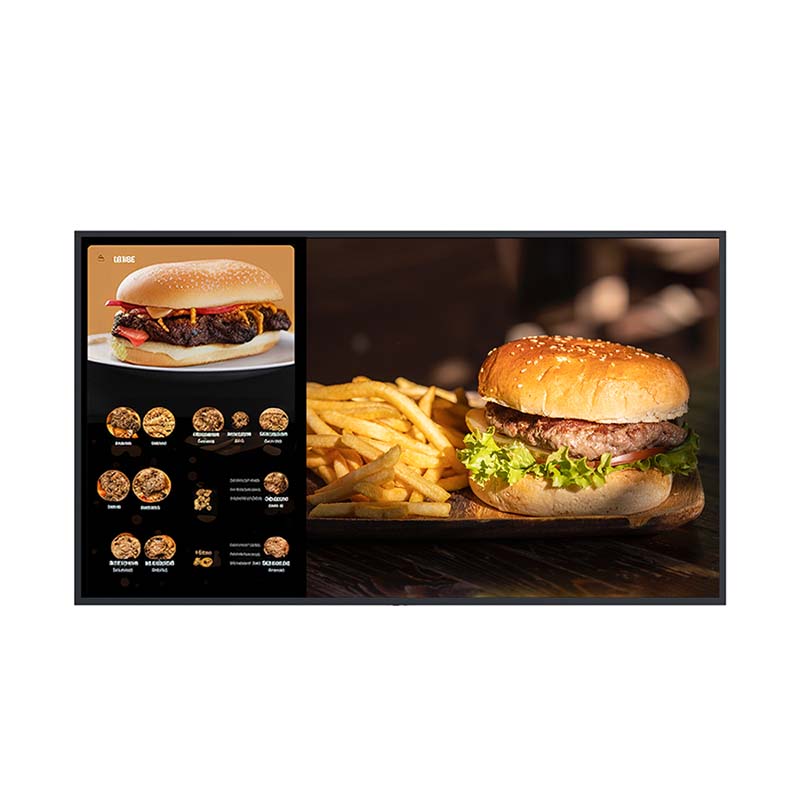
Most quick-service restaurants can rely on Full HD (1080p) resolution to deliver sharp visuals and easy-to-read text. However, if your site uses large-format displays or screens positioned at a greater viewing distance, opting for 4K resolution can offer improved clarity and a more high-end, professional look.

The way your screens are mounted has a direct impact on visibility and space efficiency. Wall-mounted displays are typically used for above-counter menus, ceiling-suspended screens are ideal for tighter areas, and freestanding digital kiosks work well at entrances or along customer queues. Choose a mounting style that aligns with your venue’s layout and foot traffic patterns.

Commercial-grade screens should be designed for extended daily use and feature elements such as anti-reflective coatings to minimise glare. High contrast ratios are essential to maintain legibility across different lighting conditions—especially during peak trading hours or in brightly lit environments.
The CMS—or Content Management System—is the brain behind your digital menu board. It’s the platform where you control everything: from uploading your menus and updating prices, to running promotions and managing content across one or multiple locations. Choosing the right CMS depends on how your restaurant operates, and how your digital signage system is set up.

Local CMS
This type of CMS runs directly on the display or a local server, with content updates typically done via USB or internal networks. While it’s straightforward and doesn’t rely on the internet, it lacks the remote management features that multi-site operations usually require.

Cloud CMS
Cloud-based CMS platforms (Web-based) operate via an online dashboard, allowing you to manage content, schedules, and screen layouts remotely. Ideal for growing QSRs or restaurants with multiple sites, this setup offers real-time updates, centralised control, and minimal on-site maintenance.

Built-In CMS Displays (All-in-One)
Many newer commercial displays now come with built-in support for popular cloud CMS platforms. These all-in-one screens include processing and storage internally, so there’s no need for an external media player. They’re easy to install, reduce cable clutter, and are especially suited to smaller restaurants or spaces with limited IT infrastructure.

External Media Players
Alternatively, a standalone media player or mini-PC can be connected to any compatible display. This approach provides maximum flexibility—allowing you to use nearly any CMS platform, scale your system easily, and update or replace hardware components as needed. Though it involves more cabling and setup, it’s a strong option for larger chains or advanced use cases.

A beginner-friendly CMS should have an intuitive interface that anyone on your team can use—no technical expertise required. Look for features such as drag-and-drop design tools and ready-made templates that make it easy to create, update, and manage content—even if you don’t have a background in design.

Your CMS should support automated scheduling to show different content based on the time of day—for example, breakfast, lunch, or dinner menus. This eliminates the need for manual updates throughout the day and ensures that customers always see the most relevant offers when they order.

In a fast-paced hospitality setting, agility is crucial. Your CMS should allow immediate updates when items run out, prices change, or new promotions launch. A responsive system ensures your menus are always accurate—without needing to wait for overnight updates or external support.

A good CMS lets you divide your screen into distinct zones. For instance, you might display your core menu in one section, highlight special offers in another, and use a third zone for customer messaging or promotional videos. This layered content approach helps you communicate more information without overwhelming the viewer.

If you’re operating across multiple locations or managing franchises, remote control becomes essential. A cloud-based CMS allows you to update all your stores from a single dashboard—ensuring visual consistency across locations, while still enabling customisation at a local level.

While brand consistency is key, your CMS should also support local adjustments. Look for tools that allow you to tailor menus by location—such as showing content in different languages, setting regional pricing, or promoting store-specific items—without rebuilding the entire campaign from scratch.

Unexpected internet issues shouldn’t bring your signage to a halt. Opt for a CMS that supports local caching, so screens continue running scheduled content even during temporary network outages. This ensures that your customer experience stays seamless and uninterrupted.

The best systems do more than just display menus—they help you improve them. Built-in analytics tools let you monitor uptime, measure which content draws the most views, and track how your displays are performing. These insights can help guide future design choices, promotions, and content strategies.
By choosing the right CMS—alongside suitable hardware and clear content strategy—you’ll unlock the full potential of your digital menu board system. It’s not just about replacing print with screens; it’s about making your operations faster, your brand stronger, and your customer experience more compelling.

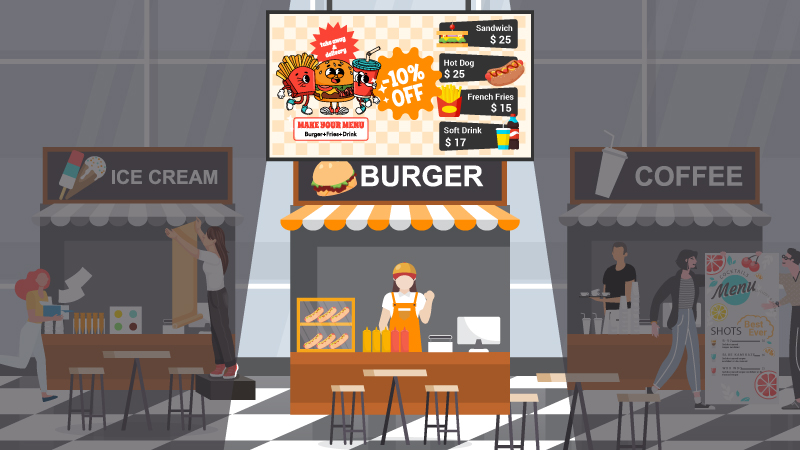
These are the most typical form of digital menu boards, usually mounted above the ordering counter in indoor spaces. They are designed to improve menu visibility and streamline the decision‑making process for customers.
Hardware needs: Indoor‑rated screens, approximately 350–500 nits brightness, Full HD resolution, and either wall‑mounted or ceiling‑suspended configurations.
CMS requirements: Time‑based scheduling, simple menu updates, and multi‑zone layouts to display main menu items alongside promotions or loyalty campaigns.

For restaurants with drive‑thru service, outdoor digital displays are essential. They must be clearly visible in daylight and durable under changing weather conditions.
Hardware Needs: Weatherproof displays with anti-glare coatings, 1000+ nits brightness, and rugged casing.
CMS Requirements: Real‑time content adjustments (for example sold‑out notices), support for location‑specific menus, and capacity to promote time‑limited offers during peak hours.

These screens, positioned in entrance zones or waiting areas, draw attention with promotional content, seasonal campaigns or brand‑led video stories.
Hardware Needs: High-resolution indoor screens with vivid colors and clear motion rendering.
CMS Requirements: Multimedia content support (videos, animations), playlist scheduling, and campaign-based switching.

In areas with varied language communities or multi‑branch setups, digital boards allow consistency while offering localised flexibility.
Hardware Needs: Screens consistent in style and dimensions across locations.
CMS Requirements: Centralised dashboard with localisation options—such as different languages, regional pricing or location‑specific offers.

For restaurant groups operating in several regions, digital signage ensures brand alignment while permitting local adjustments.
Hardware Needs: Uniform screens across branches in style and size.
CMS Requirements: A centralised system supporting localisation—languages, pricing, and region‑based promos—ensuring consistency throughout the chain.
Many smaller QSRs recoup their outlay within 12 to 24 months, depending on scale and usage.
Setting up a digital menu board system doesn’t have to be overwhelming—especially for small restaurants. By rolling out in phases, you can control costs and reduce risks.

1. Start with a Pilot Store
Launch your first digital menu board in one location. This allows you to test screen placement, brightness, and staff/customer reactions before wider rollout.
2. Choose and Test the Right Hardware
Evaluate your store’s environment and choose screens accordingly. Test brightness under real-world lighting and check mounting options for safety and visibility.
3. Evaluate CMS Platforms
Trial several CMS platforms—preferably ones offering free demos. Look for ease of use, flexibility in scheduling, and responsive vendor support.
4. Design Your Content
Create menu templates, promotional graphics, and brand elements. Ensure consistency across fonts, colours, and layout for a polished, professional look.
5. Schedule Content and Run Display Tests
Set up daypart schedules and preview how everything appears on-screen. Make sure text size is readable and visuals hold up under various lighting conditions.
6. Train Your Staff
Assign 1–2 team members to manage the CMS. They should be confident in updating menus, managing schedules, and identifying basic issues.
7. Monitor and Optimise
Once live, closely track screen performance, customer interaction, and sales. Use feedback and data to fine-tune your content and display layout.
To ensure your digital menu board investment stays reliable and effective long term, implement the following practices:
Regular Hardware Maintenance
Keep screens clean to prevent dust accumulation. For outdoor displays, ensure weather protection against rain, dust, and UV exposure.
Stable Power and Network
Avoid connectivity or power disruptions by using surge protectors and verifying stable broadband access. Unstable power can cause flickering or data loss.
Content Update Workflow
Regularly check your menu content—are prices current, promotions still active, and images high quality? Establish a content review schedule to keep screens accurate and attractive.
Brand Consistency
Ensure visual consistency across all locations: fonts, colours, and layouts should align with your brand guidelines to avoid confusing your audience.
Emergency Preparedness
Have a contingency plan in place. Invest in an uninterruptible power supply (UPS), choose a CMS that supports offline playback, and pre-load fallback content for any downtime.
No. Most CMS platforms are designed for small business owners and feature simple, intuitive interfaces. Basic training is usually enough. For Example, NowSignage CMS.
One screen in one store is plenty for testing and learning. Expand after you’re comfortable managing the basics.
Not always. Many systems cache content locally, so short-term internet outages won’t result in black screens.
High-quality commercial displays typically last 5–7 years. Outdoor screens may have shorter lifespans depending on weather exposure.
Absolutely. Even single-store operators benefit from easier updates, improved branding, better speed of service, and reduced printing costs.
Digital menu boards aren’t just a nice-to-have—they’re a powerful, cost-effective way to modernise your QSR and streamline daily operations.
Whether you’re running a single site or preparing to scale, choosing the right combination of display and CMS can help you:
Need help choosing the right setup for your restaurant?
Our team can guide you through screen selection, CMS features, and how to get started—quickly and confidently.
Learn More About AG Neovo Digital Menu Board Solution
Contact Us Now to take the first step.


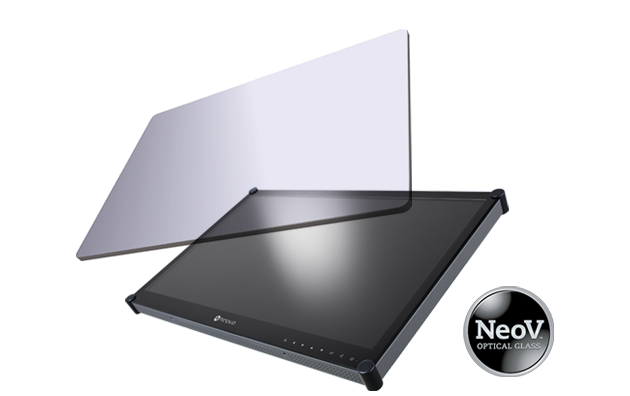 NeoV™ Optical Glass Screen
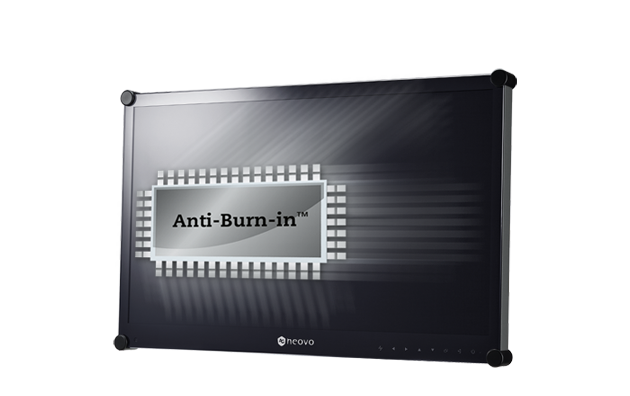 Anti-Burn-in™ Technology
