

In today’s ever-evolving tech landscape, gadgets play a pivotal role, continually reshaping the dynamics. Forward-thinking companies strive to engage customers through innovative strategies, such as the recent surge in text-based marketing.
Now, what’s the latest showstopper? The video wall!
These displays were once the preserve of high-end retailers and corporate giants, adorned with hefty six-figure price tags. However, recent technological advancements and increased accessibility have made video walls more economically viable.
Yet, when it comes to setup?
Despite the evolution, configuring and installing video walls pose their challenges, consuming substantial time.
Formerly confined to elite circles due to exorbitant costs, video walls are now more accessible due to technological progress. However, their setup complexities and time-consuming nature persist.
Explore more key tips for creating an LCD wall, from nailing installations to resolving intricate management issues.

Companies pursue video walls for various reasons, and cost is a major factor. As digital signage becomes more cost-effective, the market becomes more accessible.
Advances in resolution have enhanced the appeal of video walls, making them more visually appealing. Shrinking bezels contribute to a seamless and attractive display. Excited about setting up your video wall?
The installation process requires decisions on:
Clear planning before installation is crucial. Define measurable objectives for optimal success, saving both time and money.
Once you’ve selected the location for your video wall, meticulous planning is crucial. An issue we frequently encounter is overlooking unforeseen dimensions, which can result in installation complications.
What does this entail? Firstly, the actual display size may differ from the advertised size due to diagonal measurements. Additionally, factor in the bezels surrounding the screens, as they impact the overall dimensions.
It’s crucial to consider the frame and supporting structure dimensions. Neglecting this aspect can significantly disrupt your setup.
Factor in the space required behind the support structure and displays, especially when utilizing multiple screens; ensure an optimal distance between them.
Moreover, consider practical aspects such as proximity to internet connections and power sources. Ensure the room is equipped with essential devices like computers, Wi-Fi, and media players necessary for the video wall’s operation.
Before you can determine how many displays you’d like to install on your wall, you must know just how much room you have for your display.
Measure the wall upon which the installation will go carefully. Most office walls come in around 8.5 feet high, but that doesn’t mean you can slack on taking measurements. After all, anomalies happen. Measure the width to know exactly how much space you’ll have to work.
Once you’ve got some dimensions, determine the type of wall you’re dealing with, either resilient channel (RC) or wooden. You’ll also want to consider how much weight you’ll be mounting on the wall. Once you’ve ensured everything’s on the up and up with the walls, it’s time to start fleshing out visual plans.
Grab a sheet of paper and sketch out the wall and the space available for screens. Make sure the drawing is to scale so that you can plot out what goes where.
You can explore certain esthetic principles, such as margins, by sketching the space. Margins play a significant role in video wall esthetics. So, don’t leave them to chance.
What choices do you have when it comes to layout design? Layouts range from simple 2×2 and 2×3 designs to artistic video walls.
You’ve got many choices to make when it comes to what your video wall will look like once completed. For one, you’ll have to select the type of technology you wish to use. Types of technology currently available include:
When viewing videos on the wall, you’ll also need to make the call between going with a uni-view or a separate view.
Now, it’s time to select the ideal connectivity for distributing your content effectively.
Consider options like DP, HDMI, or IR/RS232 daisy chain loop to link to a PC or a video wall controller such as Matrix for broadcasting. Determine if you’ll display videos, signage, or slideshows on your video wall.
A player is essential for broadcasting. While some use a desktop computer, a media player specifically tailored for this purpose is the best choice.
Why? Media players are compact, designed for displaying videos on larger screens, and offer hassle-free installation. Easily attach them to the display’s backside using double-sided velcro or mount them in the ceiling or cabinet for a tidy setup.
For a clutter-free space, use cable concealers to manage cords effectively. These accessories not only organize cables but also enhance workspace safety, available in various wall paint colors for a unified aesthetic appearance.
After you’ve decided which broadcasting device you want to use for your video wall, install the appropriate software on your device. That way, you can run slideshows, videos, and other media. There are a variety of video wall solutions out there today.
These management systems are intuitive and easy to use. You’ll feel shocked at how easy it is to broadcast to video walls, signage, and slideshows.
For example, AG Neovo is a one-stop-shop for your video wall solution needs, offering public information display management software, PID Command & Ctrl, that is possible to use the wholly simple and intuitive interface to run all kinds of campaigns while on the go. If you’re running large-scale display deployment, this software is capable of saving you a significant amount of time – no matter when or where you’re setting up or managing your digital signage solutions.
Look for a software solution that saves your company both time and money. This approach will free you and your employees up to invest your energy and finances in other vital areas of your business.
Now that you’ve got a clear vision of your video wall’s dimensions, it’s time to ensure everything fits seamlessly. The key here is selecting the right combination of mounts, hardware, and displays to execute your plan flawlessly.
Video wall mounts come in various types, each suitable for different layouts like 2×2, 2×3, or 3×3 configurations. Ensure the mounts you choose complement your design.
Take precise measurements! Accuracy matters—especially when considering the dimensions of both displays and frames. This step guarantees your video wall aligns with your vision.
Referring to your sketches, add in equipment dimensions to understand how mounts and displays will fit together. Consider wall mounting for added stability.
Once you have the tools and equipment ready, such as a laser level, you’re all set to begin installing your video wall.

When it comes to installing your video wall panels, here are some handy tips to bear in mind.
Start by unpacking the displays one by one. As you do this, check to make sure each display is wholly intact and damage-free. We suggest making a video of the process as a safeguard.
Once you’ve carefully unpacked everything, you’ll want to move the displays and all your tools to the installation space. Double-check your video wall dimensions (e.g., width and height) and carefully mount each display to the wall.
As you prepare to install the screens, they can feel both exciting and make or break. You’ll need an extra hand or two. So, recruit members of your team for assistance.
Set up each display from the left bottom, row by row, or from the central row by row. Finally, make sure that cable and loop display panels have a stable connection based on your video source of choice (e.g., IR/RS232, DVI, DP, LAN, or HDMI).
What do you do after you’ve mounted the displays on the wall? Next, it’s time to set up the displays.
Where to start? Remember to set IP addresses for each of your displays. Next, set a label for each panel to distinguish which panel will be deployed in the right position.
After that, it’s time to work on the calibration of your video wall. What do we mean by calibration? We’re referring to how you wish to adjust the following characteristics:
Calibrating monitors and displays primarily involves adjusting brightness and color settings. Usually calibrated at the factory, screens should display pleasing visuals upon installation.
Over time, slight changes in brightness and color may occur, particularly noticeable in adjacent screens within a video wall. These disparities, although minor in a single-screen setup, can become glaringly distracting.
Even the smallest differences in brightness and color can disrupt visual harmony, undermining the overall impact of your video wall. Perfect calibration is key to ensuring visual balance and maximizing your wall’s effectiveness.

Manual calibration, a costly and time-intensive process requiring multiple annual adjustments and downtime, has seen significant advancements in real-time calibration methods. For those seeking a consistently impressive video wall appearance, exploring matrices or video wall controllers is beneficial.
These systems automatically calibrate screen images, color temperature, and brightness, ensuring optimal video wall picture quality and performance monitoring. Traditionally, managing colors and volume on individual displays required various devices.
However, software like AG Neovo’s PID Command & Ctrl simplifies the process. This intuitive software combines functions, facilitating quick control, configuration, and testing of video walls in mere minutes. It also aids in finding command codes for external system integration and offers remote management for AG Neovo displays, connecting easily via LAN or RS232 for exceptional results.
Which equipment is PID Command & Ctrl compatible with? Besides a Windows version, PID also has iOS and Android versions. These versions enable you to control your video wall with the simple touch of your mobile phone. It doesn’t get any easier or more convenient than that.
PID Command & Ctrl makes maintaining large-scale digital signage installations more convenient and intuitive than ever before. And if a problem arises? It lets you quickly diagnose connection and configuration problems, minimizing the downtime needed to remedy your video wall issues.
There’s no better software management tool if you’re running a large-scale display deployment. This software will save you plenty of money and countless hours. It’ll also make your dream of having a magnificent-looking video wall possible because you’ll have the necessary resources to achieve it.
As you can see, LCD video wall installation is no simple task. But having an LCD wall at your business comes with endless benefits. With the right know-how and software system support, you can take full advantage of a video wall’s many benefits while enjoying the peace of mind that comes from being able to manage it from anywhere.
Besides making an impression when customers walk through the doors of your business, a video wall serves many other purposes. It gives your executives, team, and other stakeholders the data they need to be displayed on KPI dashboards.
As a result, it enhances collaboration while ensuring everyone’s on the same page. If you prefer to dedicate your video wall to customers, use it to greet them and ramp up the „wow“ factor. It’s also a helpful place to display live TV broadcasts, news, weather, live sports, and more.
Innovative solutions such as AG Neovo PID Command & Ctrl make video walls affordable and user-friendly. Contact us to bring your company’s video display dreams to life. Click here to learn more about AG Neovo video wall displays.
PID Command & Ctrl Tutorial
How to Make a Video Wall: Your Must-Read Guide

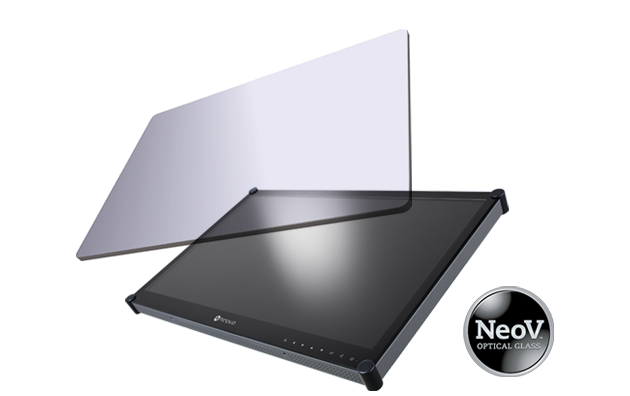 NeoV™ Optisches Glas-Display
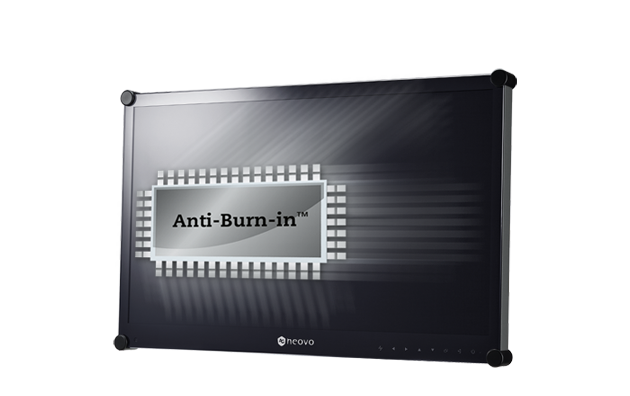 Anti-Burn-in™ Technologie


